Der vil blive pakket ordre den 22/12, 23/12, 29/12, og den 30/12. Vi ønsker alle en god jul, og et godt nytår. :)
IR Wireless Remote Control Module Kits. Med dette sæt kan du med flere varianter af IR betjeninger/Remoter styre en arduino.
Battery:CR2025 Button batteries – Batteri er ikke i pakken.
Transmission Distance: up to 8m
Effective Angle: 60°
Static Current: 3~5uA, Dynamic Current: 3~5mA
Receive standard: 38 KHZ
Remote size:8.5 x 4 x 0.65cm(L x W x H)
Remotes som kan bruges:
DENON
SHARP
JVC
PANASONIC
LG
SAMSUNG
SONY
Før du kan starte din programmering skal Arduino’s IDE software hentes. Dette program bruges til at programmere chippen.
Download fra dette link: Downlaod
Inden programmeringen kan udføres skal den rigtige “COM” port findes. Klik “Værktøj/Port” – og vælg COM port.
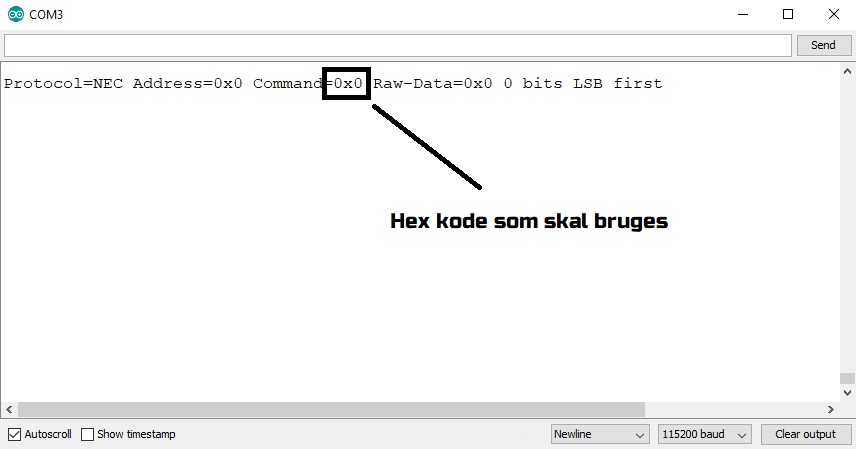
Her vises er eksempel på hvordan du med en remote kan kontrollere en arduino. Du skal åbne “Serial monitor” for at se data.
Du skal bruge:
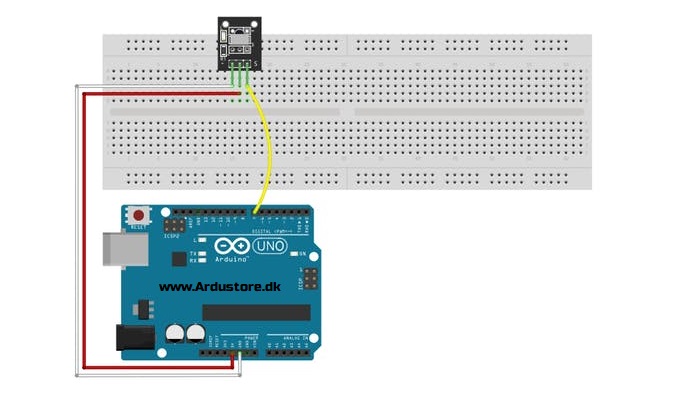
Forbind sådan:
VCC – 5 V
GND – GND
S– Digital pin 2
Hvis der skal monteres en LED som kan slukke og tænde skal den monteres på pin 12.
//#define DECODE_DENON
//#define DECODE_SHARP // the same as DECODE_DENON
//#define DECODE_JVC
//#define DECODE_KASEIKYO
//#define DECODE_PANASONIC // the same as DECODE_KASEIKYO
//#define DECODE_LG
#define DECODE_NEC
//#define DECODE_SAMSUNG
//#define DECODE_SONY
//#define DECODE_RC5
//#define DECODE_RC6
//#define DECODE_BOSEWAVE
//#define DECODE_LEGO_PF
//#define DECODE_MAGIQUEST
//#define DECODE_WHYNTER
//#define DECODE_HASH // special decoder for all protocols
#include <Arduino.h>
/*
* Define macros for input and output pin etc.
*/
#include “PinDefinitionsAndMore.h”
#include <IRremote.h>
int LedPin = 12; // choose the pin for the LED
void setup() {
Serial.begin(115200);
pinMode(LedPin, OUTPUT);
// Just to know which program is running on my Arduino
Serial.println(F(“START ” __FILE__ ” from ” __DATE__ “\r\nUsing library version ” VERSION_IRREMOTE));
/*
* Start the receiver, enable feedback LED and take LED feedback pin from the internal boards definition
*/
IrReceiver.begin(IR_RECEIVE_PIN, ENABLE_LED_FEEDBACK, USE_DEFAULT_FEEDBACK_LED_PIN);
Serial.print(F(“Ready to receive IR signals at pin “));
Serial.println(IR_RECEIVE_PIN);
}
void loop() {
/*
* Check if received data is available and if yes, try to decode it.
* Decoded result is in the IrReceiver.decodedIRData structure.
*
* E.g. command is in IrReceiver.decodedIRData.command
* address is in command is in IrReceiver.decodedIRData.address
* and up to 32 bit raw data in IrReceiver.decodedIRData.decodedRawData
*/
if (IrReceiver.decode()) {
// Print a short summary of received data
IrReceiver.printIRResultShort(&Serial);
if (IrReceiver.decodedIRData.protocol == UNKNOWN) {
// We have an unknown protocol here, print more info
IrReceiver.printIRResultRawFormatted(&Serial, true);
}
Serial.println();
/*
* !!!Important!!! Enable receiving of the next value,
* since receiving has stopped after the end of the current received data packet.
*/
IrReceiver.resume(); // Enable receiving of the next value
/*
* Finally, check the received data and perform actions according to the received command
*/
if (IrReceiver.decodedIRData.command == 0x11) {
digitalWrite(LedPin, HIGH);
} else if (IrReceiver.decodedIRData.command == 0x12) {
digitalWrite(LedPin, LOW);
}
}
}
Du er altid velkommen til at kontakte os på info@ardustore.dk, eller sende os en besked via messenger (Klik her) og vi vil hjælpe dig.
På lager
Tilføj til kurv
På lager
Vælg muligheder Dette vare har flere varianter. Mulighederne kan vælges på varesiden
På lager
Vælg muligheder Dette vare har flere varianter. Mulighederne kan vælges på varesiden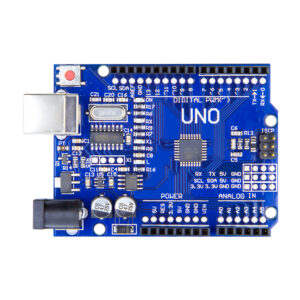
Udsolgt - Send mail
Læs mere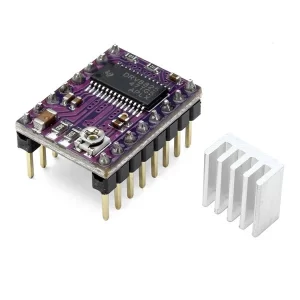
På lager
Tilføj til kurv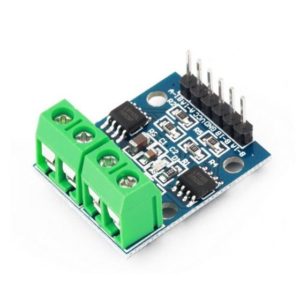
På lager
Tilføj til kurv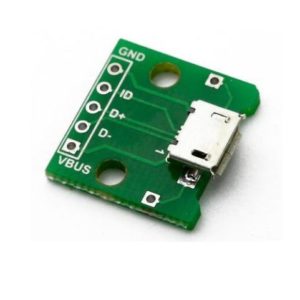
På lager
Tilføj til kurv
På lager
Tilføj til kurvTelefonen har åben:
Mandag – Fredag 07.00 – 16.00
Kontakt os:
Mail: info@ardustore.dk
Telefon: 41403333
Virksomheden:
Ardustore.dk
Klinkbjerg 4B
6200 Åbenrå
CVR: 39973804
Afhentning: Ordren som afhentes bliver lagt i postkassen som er låst med en kode. Koden kommer i den mail som sendes når pakken kan afhentes. Vores postkasse er på væggen i gården.
Vi er meget mere ind bare en webshop, vi tilbyder også forskellige service.
– Udvikling af egen PCB print
– Salg af komplet styringer
– Software udvikling
– Programmering
– 3D Design af kasser
Skriv til os på info@ardustore.dk
Vi vil prøve noget nyt! Der findes ingen sider i Danmark som tilbyder forums inde for Arduino! Derfor har vi prøvet at lave et lille univers for Arduino entusiaster.


Telefonen har åben:
Mandag – Fredag 07.00 – 16.00
Kontakt os:
Mail: info@ardustore.dk
Telefon: 41403333
Virksomheden:
Ardustore.dk
Klinkbjerg 4B
6200 Åbenrå
CVR: 39973804
Webshoppen er ikke en butik som kan besøges. Men det er muligt at afhente ordre, dog efter aftale via mail eller tlf. (Også i weekenden)
Afhentning: Ordren som afhentes bliver lagt i postkassen som er låst med en kode. Koden kommer i den mail som sendes når pakken kan afhentes.
Vi er meget mere ind bare en webshop, vi tilbyder også forskellige service.
– Udvikling af egen PCB print
– Salg af komplet styringer
– Software udvikling
– Programmering
– 3D Design af kasser
Skriv til os på info@ardustore.dk
Vi vil prøve noget nyt! Der findes ingen sider i Danmark som tilbyder forums inde for Arduino! Derfor har vi prøvet at lave et lille univers for Arduino entusiaster.


Anmeldelser
Der er endnu ikke nogle anmeldelser.